Forwarding Events to Microsoft Sentinel
Keep Aware can forward any policy, event, or threat to your organization’s Microsoft Sentinel environment. This guide explains how to set up ingestion from Keep Aware into Microsoft Sentinel.
Requirements
- Access to your organization's Microsoft Sentinel environment.
- Permissions to create a Data Collection Endpoint, Table in a Log Analytics Workspace, and a Data Collection Rule.
- Permission to assign members to a Data Collection Rule.
Getting Started
Setting up the Keep Aware integration with Microsoft Sentinel requires three parts: Data Collection Endpoint, a Table with your desired schema, and a matching configuration in the Keep Aware console.
Creating a Data Collection Endpoint
Keep Aware integration needs a Data Collection Endpoint (DCE) to forward events and threats. This often already exists; however, the steps below will show you how to create a DCE.
- Navigate to Monitor in your Azure Environment
- Select Data Collection Endpoints and then Select Create
- After creating the Data Collection Endpoint, you will want to navigate to the endpoint and select Overview and save the endpoint for Log Ingestion. Note the endpoint URL for your DCE as this will be needed later on.
For more information on creating a Data Collection Endpoint please refer to Microsoft documentation below:
Create a Data Collection Endpoint
Creating a Custom Table in your Log Analytics Workspace
A new Table will be used to store Keep Aware events and threats in your configured format.
-
Table: In your Log Analytics Workspace, select Tables, and then Create a New Custom log (DCR-based) table.
-
Data Collection Rule (DCR): After naming the table, select Create a new data collection rule.
-
Data Collection Endpoint (DCE): Set the Data Collection Endpoint to the endpoint you created when Creating a Data Collection Endpoint.
-
Setup Schema: The Keep Aware integration with Sentinel is highly configurable, you can use a custom schema to determine which fields get stored in Sentinel. Two versions are attached below: Full format and reduced format. You may also configure a custom schema as needed.
-
Download Schema: Download the full schema or reduced schema below.
-
Upload Schema: Select Upload sample file and upload the schema file.
-
-
Find and Save the Rule ID and the Data Source name: After creating the table you will need to navigate to Monitor and view the rule you just created while creating the table.
- Select Overview and then select JSON View.
- Save the Rule ID: Copy and Save the immutableId. This will be needed when setting up the integration in the Keep Aware Console.
- Save the Data Source Name: Select Data Sources and then copy and save the Date Source name. This will be needed when setting up the integration in the Keep Aware Console.
For more information on creating a custom table in your Log Analytics Workspace please refer to the Microsoft documentation below:
Setting up Microsoft Sentinel with Keep Aware
To connect Keep Aware to your Sentinel data collection endpoint and table, navigate to the Integrations Page and select the Microsoft Sentinel integration. This will open a modal where you can select Create New Integration and begin configuring the integration.
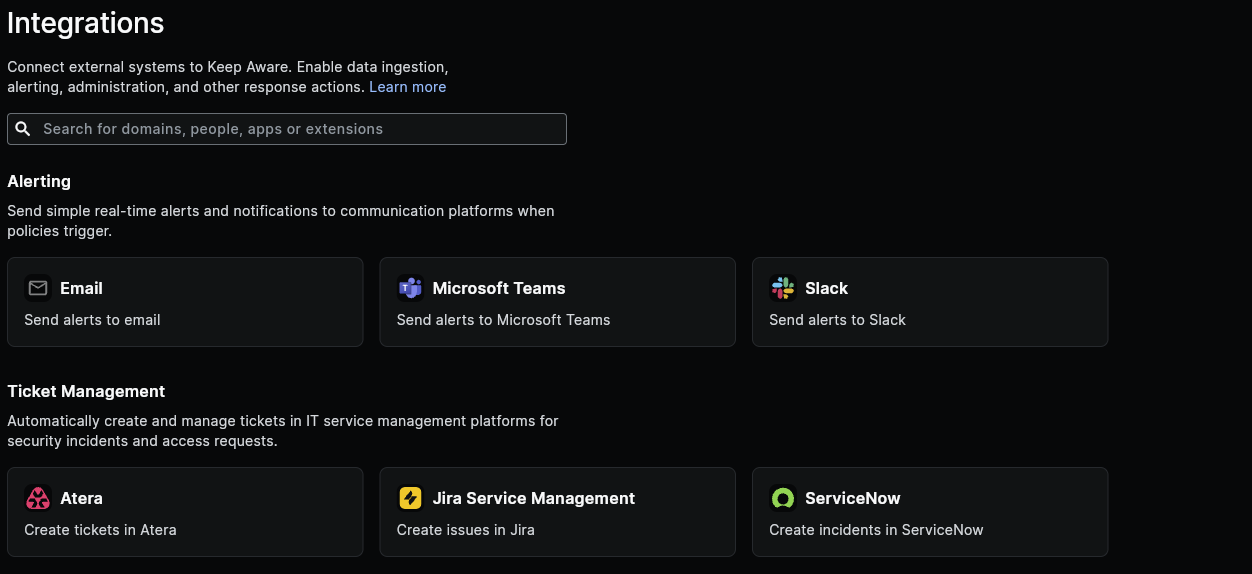 Image: Integrations Page
Here we will configure each of the fields below:
- Tenant ID: The Tenant ID for you Microsoft (Azure) Environment.
- Rule ID: Data Collection Rule ID.
- Data Source Name: Data Source name for the Data Collection Rule.
- Ingestion Endpoint: Data Collection Endpoint URL.
- Body: Keep Aware can mirror the configuration for your Microsoft Sentinel table. This JSON data will be the format used to create new events and threats.
After saving the integration you will be redirected to authorize Keep Aware Log Ingestion application for your Azure environment. To provide sufficient permissions to the Keep Aware Log Ingestion application in your environment, you will assign the application as a member capable of publishing to your Data Collection Rule (DCR).
- Navigate to Monitor
- Select Data Collection Rules and then select your newly created DCR:
- Select Access Control (IAM)
- Select Add role assignment
- Search and Select Monitoring Metrics Publisher and then select Next
- Assign Keep Aware Log Ingestion: Select Members, then User, group, or service principal, then Select members. Search and select Keep Aware Log Ingestion. Then finish by selecting Review + assign.