Jamf
The Keep Aware integration with Jamf syncs your Jamf Pro users, user groups, devices, and device groups into Keep Aware. Once synced, you can assign those groups to Profiles to distribute policy to the right people and machines.
Requirements
- Keep Aware console access: Sign in to the Keep Aware console with valid credentials.
- Jamf Pro administrator access: Use an account that can create an API role and an API client in Jamf Pro. In Jamf Pro, these live under Settings, then System, then API roles and clients.
Getting started
At a high level, setting up Jamf takes three steps: create a Jamf Pro API role with read access to the data you want to sync, create an API client bound to that role, then enter the client’s credentials in your Keep Aware console. Keep Aware then runs the first sync and refreshes your Jamf groups once a day.
By default, Keep Aware syncs your Jamf computers and their device groups. You can also opt in to sync your Jamf users and user groups. Once synced, these groups appear on the Groups page and can be referenced in Profiles to scope policy and threat responses to specific machines or people.
Jamf Pro setup
Create a dedicated API role and API client in Jamf Pro. The API role defines what Keep Aware can read, and the API client is the credential Keep Aware uses to authenticate.
Create an API role
- In Jamf Pro, go to Settings, then System, then API roles and clients.
- On the API Roles tab, click New.
- Enter a display name, such as
keepaware-sync. - Add the read privileges listed below.
- Click Save.
Keep Aware only reads from Jamf, so the role needs read privileges only. Add the privileges that match what you plan to sync.
Device sync (on by default):
- Read Computers
- Read Smart Computer Groups
- Read Static Computer Groups
User and group sync (only if you turn on the Sync users toggle):
- Read User
- Read Smart User Groups
- Read Static User Groups
You can edit an API role’s privileges at any time, and the change takes effect right away without generating a new client secret. Add the user privileges only if you turn on the Sync users toggle.
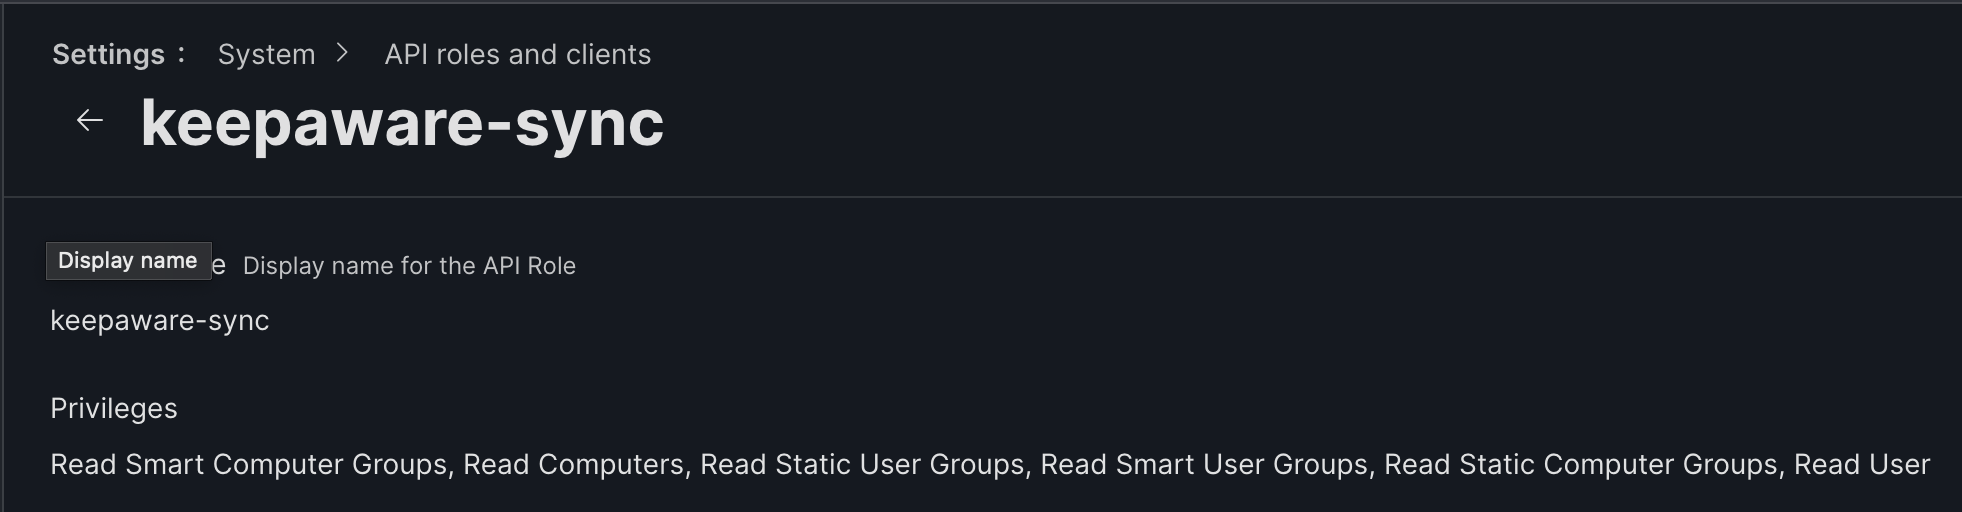
Image: Jamf Pro API role with the required read privileges
Create an API client
- On the API Clients tab, click New.
- Enter a display name, such as
keep-aware. - Under API Roles, add the role you created.
- Set the Access Token Lifetime. The default value is fine.
- Turn on Enable API Client.
- Click Save.
Screenshot pending: Jamf Pro API client creation with the API role assigned.
Get your credentials
- Open the API client you created.
- Copy the Client ID shown on the client’s page.
- Click Generate Client Secret, then confirm.
- Copy the Client Secret. Jamf shows it only once, so store it somewhere safe.
Your base URL is your Jamf Pro address, such as https://your-org.jamfcloud.com.
Screenshot pending: Jamf Pro API client showing the client ID and the generated client secret.
Keep Aware console setup
With your base URL, client ID, and client secret ready, set up the integration in Keep Aware.
- In the Keep Aware console, go to the Integrations page.
- In the Group Management section, select the Jamf card.
- Click Create Integration.
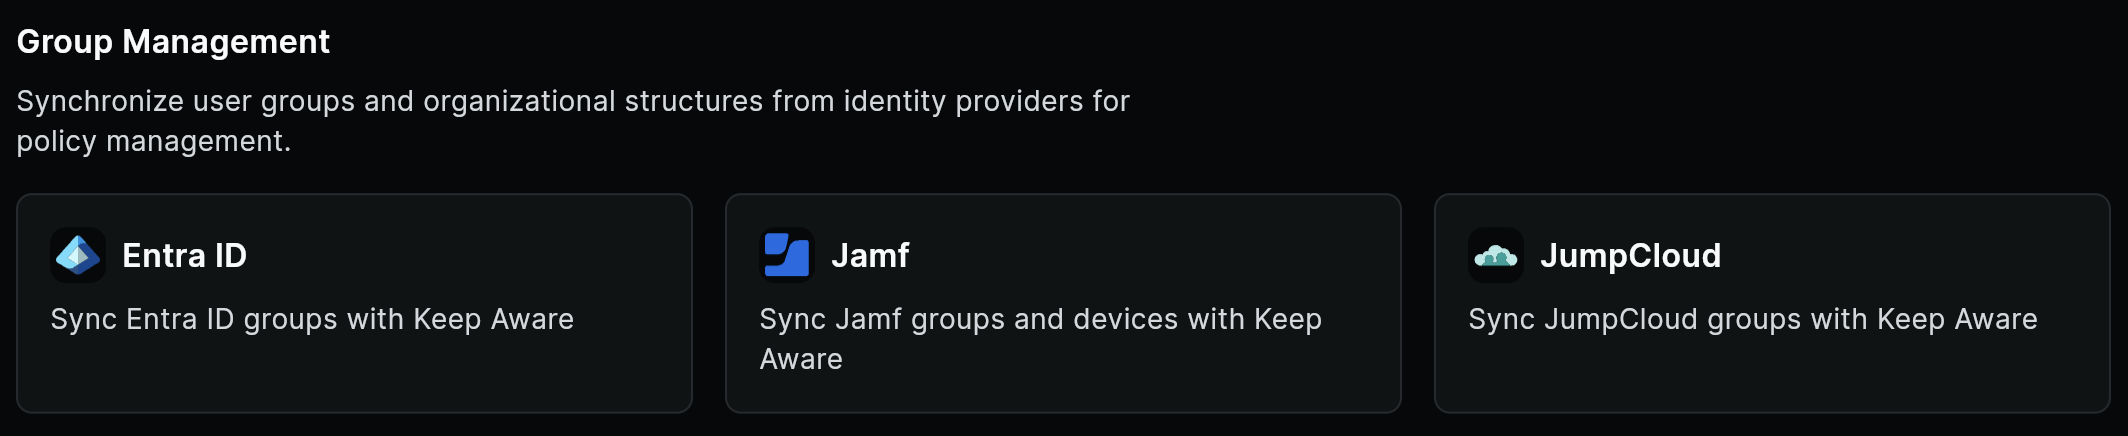
Image: the Jamf card in the Group Management section of the Integrations page
- Fill in the fields:
- Jamf Pro URL: your Jamf Pro base URL, such as
https://your-org.jamfcloud.com. - API client ID: the client ID you copied from Jamf.
- API client secret: the client secret you generated. Keep Aware stores it obfuscated, the same way it stores other directory credentials.
- Jamf Pro URL: your Jamf Pro base URL, such as
- Choose what to sync:
- Sync devices is on by default. It syncs your Jamf computers and their device groups.
- Sync users is off by default. Turn it on to also sync your Jamf users and user groups.
- Click Save.
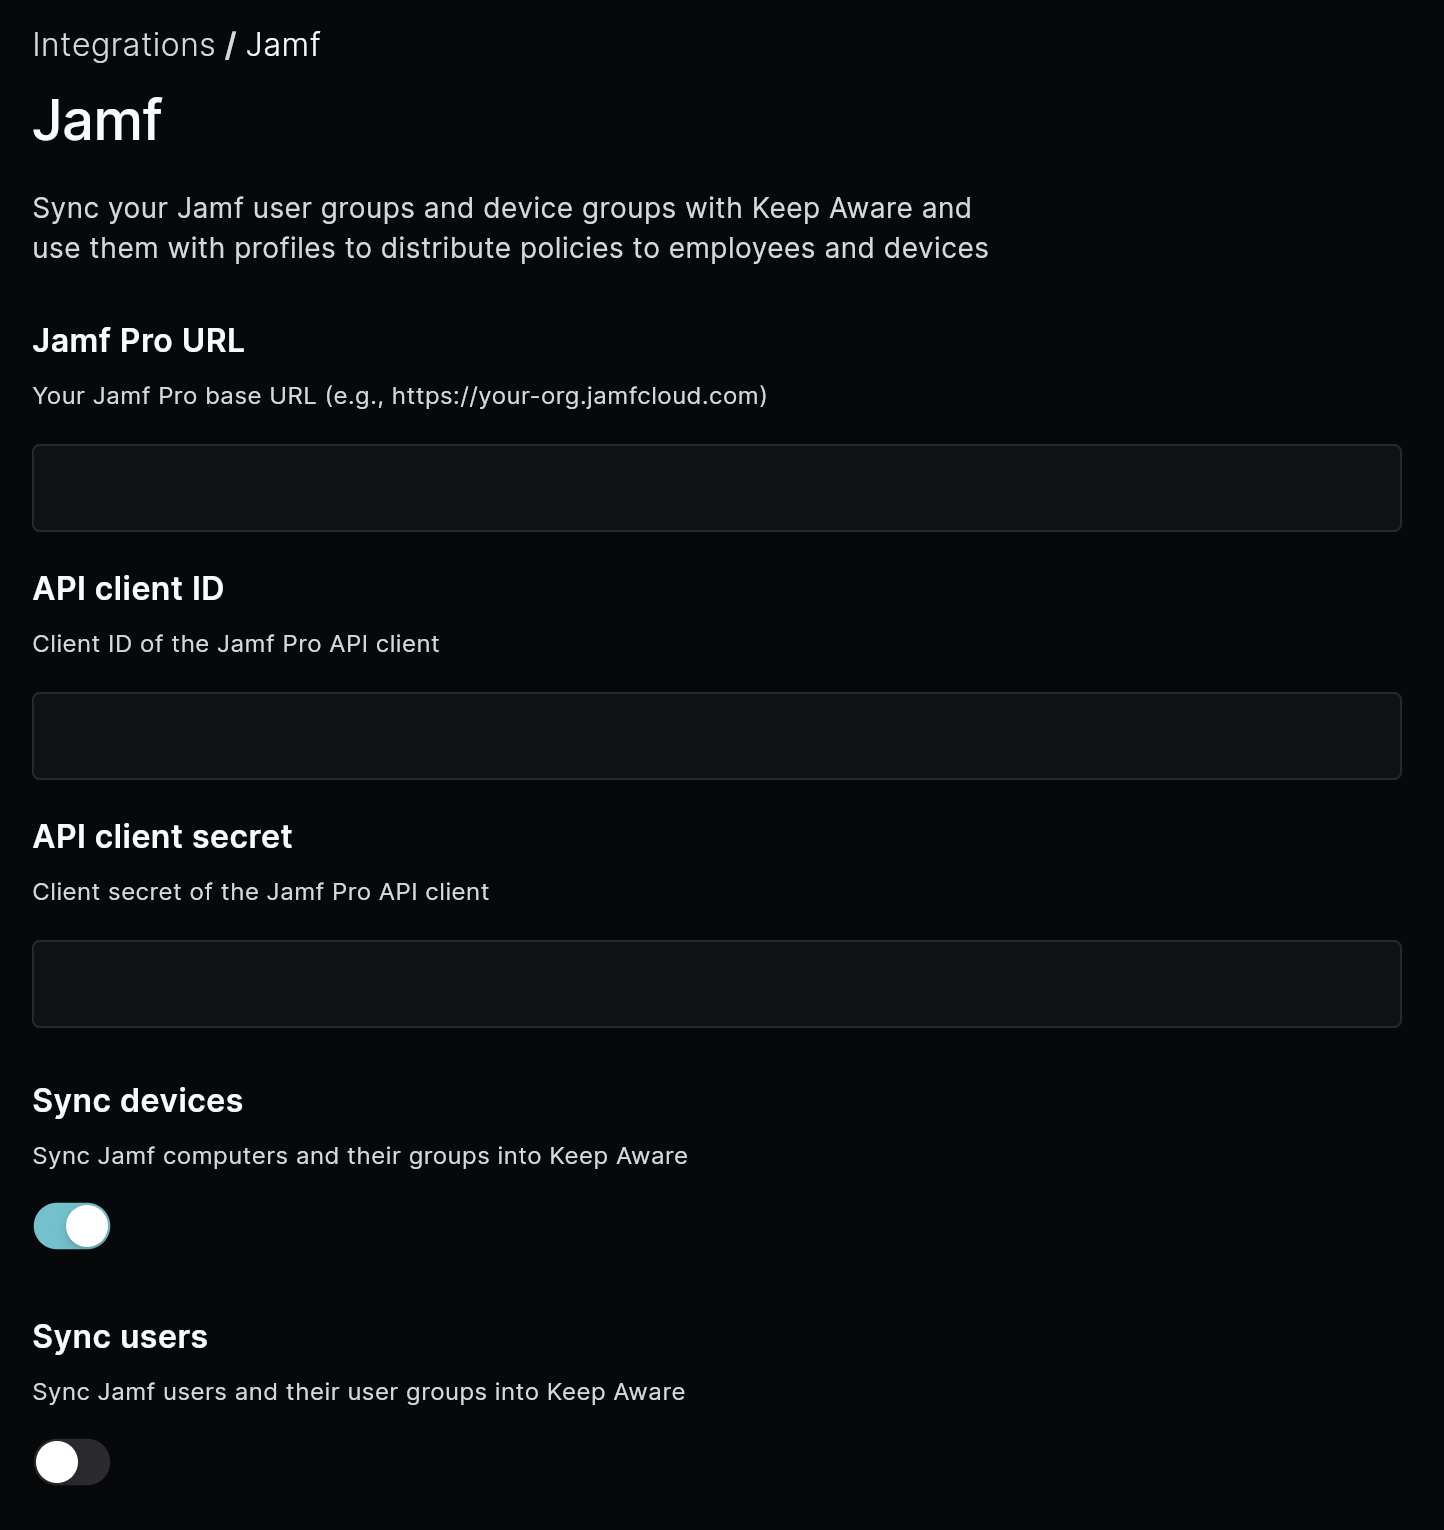
Image: the Jamf integration form in Keep Aware
Keep Aware runs the first sync right away. When it finishes, your Jamf groups appear on the Groups page under a single Jamf tab, with user groups and device groups together. Open a group to see the users or devices assigned to it. To distribute policy, assign a Jamf group to a Profile.
How the sync works
Keep Aware reconciles your Jamf directory on a schedule and updates the matching groups, users, and devices in Keep Aware.
- Jamf user groups and device groups both sync into Keep Aware. User group membership applies to your users and their browsers, and device group membership applies to your devices and the browsers on them.
- Keep Aware matches each Jamf device to a Keep Aware device by hostname. A matching device is linked, and an unmatched one is created. Keep Aware owns device identity, so Jamf never sets a Keep Aware device ID.
- Device sync is on by default. User and user group sync stays off until you turn on the Sync users toggle.
- The full sync runs once a day.
Frequently asked questions
| Question | Answer |
|---|---|
| Does Jamf sync in real time? | No. Keep Aware syncs once a day. |
| Will this change anything in Jamf? | No. The integration is read-only. Keep Aware reads from Jamf and never writes back. |
| What happens to a Jamf device that isn’t in Keep Aware yet? | Keep Aware matches Jamf devices to existing Keep Aware devices by hostname and creates any it doesn’t find, so your Jamf device groups still apply. |
Support
Setting up Jamf involves configuration in both Jamf Pro and Keep Aware. If you have trouble creating the API role or client, or the sync doesn’t return the groups you expect, reach out to your Keep Aware account team for help.