Using the Threat Viewer
The Threat Viewer is the visual representation of a threat event and any surrounding events for the same user. This feature is particularly useful to investigate a threat event at a high-level.
Getting Started
To get started viewing threat events, navigate to the Threats page from the menu on the left side of your console.
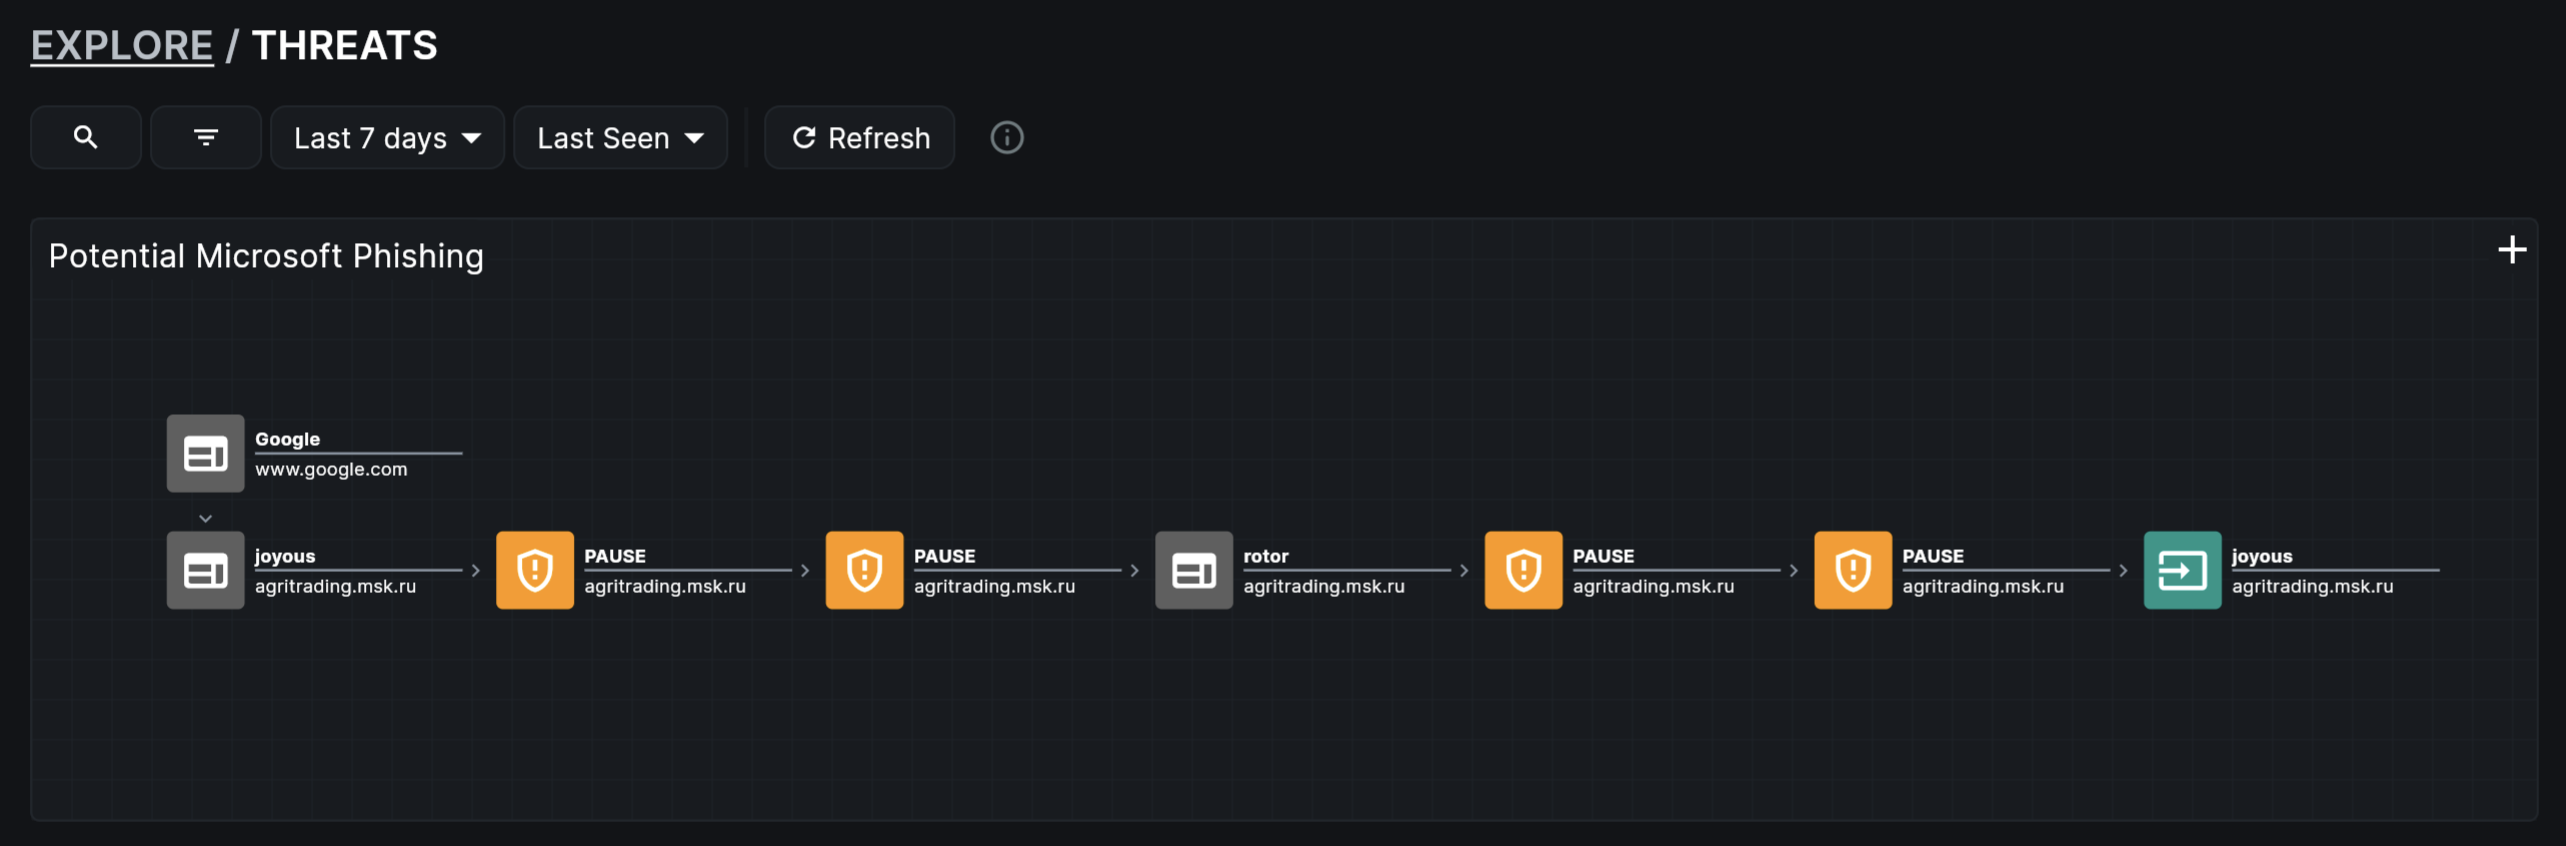 Image: Threats Page
Threat Fields
Each threat event has additional fields not present in other events. See Threat Fields for more information about threat-specific fields.
Actions on Threat Events
For each threat event in the Threats page, you may take any of the below actions. To take any of the below actions, refer to the "Actions" column for that threat event and click the icon corresponding to the action.
- Visualize Threat (Icon: magnifying glass)
- Mark Reviewed (Icon: eye)
- View Events (Icon: list)
- Respond (Icon: arrow)
Populate the Threat Viewer
Navigate to the Threats page from the menu on the left side of your console. In the "Investigate Threats" section, find a threat event of interest and click "Visualize Threat" (the magnifying glass icon) under the "Actions" column.
The Threat Viewer automatically shows both the threat event you chose to visualize and any surrounding events that precede and proceed the threat event.
Surrounding Events
Surrounding events are events for the same user (specifically, the user.id) and within the default timeframe of +/- 5 minutes of the threat event.
Use the Threat Viewer
Use the Threat Viewer to investigate a selected threat event at a high-level and in context of surrounding events—events leading up to and following the threat event—for that user.
Example Thought Process
For example, a Potential Microsoft Phishing Page threat event may exist. When investigating this threat, you may want to know what browser actions led up to a threat event (e.g., Did the user first click on a link in their personal or work email?) and what browser actions followed a threat event (e.g., Did the user input their credentials into the fake login page?).
Knowing what events led to a threat event (e.g., a user clicked a link in a phishing email that bypassed our email security controls) can uncover areas to fortify security defenses moving forward (e.g., increase security awareness training specific to phishing emails and/or increase technical controls regarding phishing and malicious web traffic).
Knowing what events followed a threat event (e.g., a user input their Microsoft credentials into a fake login page) can inform what actions should take place (e.g., reset that user's Microsoft credentials).
Navigating the Threat Viewer
| Inteded Outcome | Action to Perform |
|---|---|
| Zoom In/Out | Place mouse cursor in Threat Viewer and scroll up/down |
| Move Screen | Right-click in Threat Viewer and drag mouse |
| Enlarge/Minimize Threat Viewer | Click the "+"/"-" in the top-right of the Threat Viewer |
After Using the Threat Viewer
Pivot to Events Details
To further investigate the same events in more detail and in a tabular format, refer to View Events.
Respond to a Threat
To respond to the threat, refer to Responding to a Threat for more information.
Frequently Asked Questions
| Question | Answer |
|---|---|
| How do I change the default time for surrounding events? | The default timeframe is fixed and not changable at this time. |